This tutorial will walk you through digitally signing PDFs using Adobe Acrobat. Before you begin, please make sure you have the most recent version of Adobe Acrobat Pro, available in the CWRU Software Center. This tutorial assumes you have never created a digital signature in Adobe Acrobat.
1. Open the file you need to digitally sign using Adobe Acrobat.
2. Complete the form with your information, if needed.
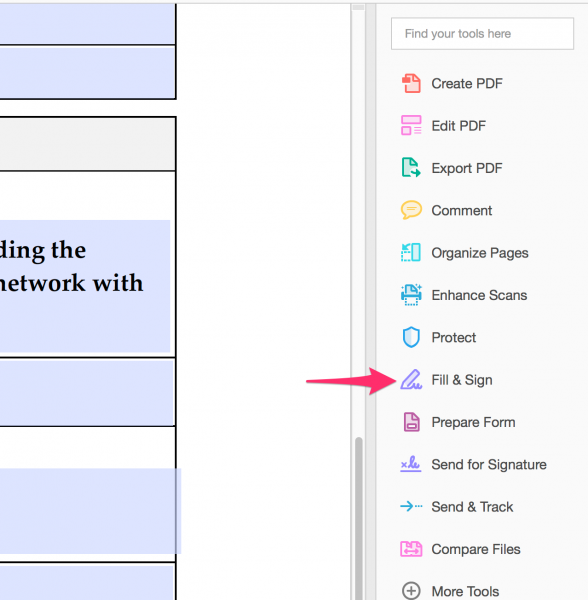
3. In the Tools menu on the right of your open document, Click Fill & Sign. You may see an alert that says you cannot drag and drop information. Click OK.
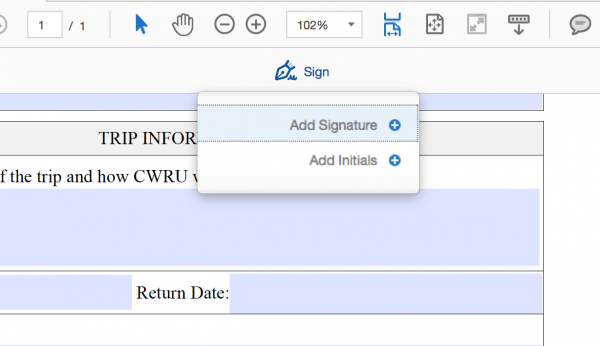
4. At the top center of the form, click the Sign button. In the menu that appears, select Add Signature.
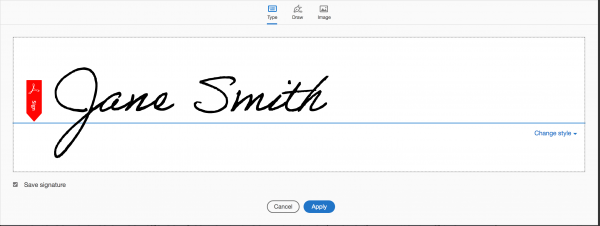
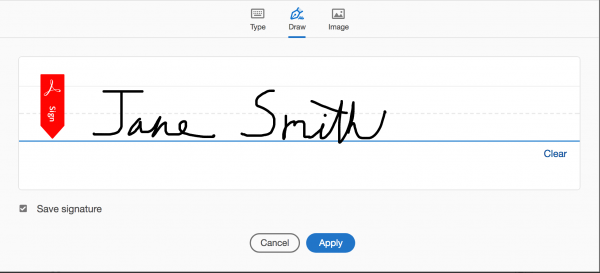
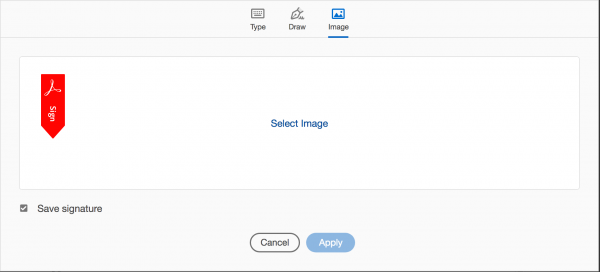
5. In the window that appears, you can create a signature three different ways. The first is to simply type your name and the application will display it in a handwritten styled font. The next is to sign using your mouse. And finally you can upload an image of your signature if you have one. Once you have created your signature using your chosen method, click the Apply button and you will be returned to your form.
6. Now that you’ve added a signature, you can click the Sign button above the form again, and you’ll see your new signature available in the list. Click on your signature to select it.

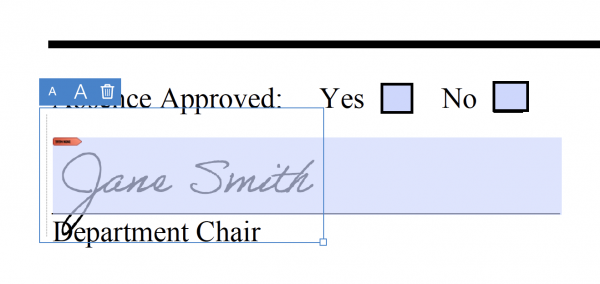
7. Your cursor will show a small version of your signature next to it. Use your cursor to “drop” the signature anywhere on the form. Simply click to place the signature. Once you’ve place your signature, handles will appear on the corners of the signature image that you can click and drag to resize the signature.
Once your signature has been placed in your document and you are satisfied with the appearance, save your document. Be aware that once saved, the signature will no longer be editable.