Your website has built-in integration with Google on the homepage calendar. Instead of having to create a new event for both this site’s calendar and your Google Calendar, you can just make it on Google Calendar and have it appear on your site as well. We strongly encourage using a Google calendar rather than the built in Events area.
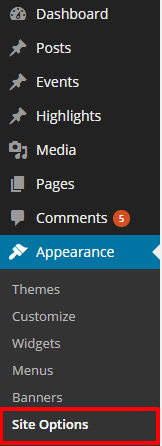
1. To link a google calendar, you must first access the Calendar Settings. This is done by clicking on the Appearance part of the sidebar and then going to Site Options:
You should see this page now:

2. To find the information you need to fill in, you will need to access your Google Calendar settings. You can do this by logging into your Google Calendar, clicking the dropdown arrow next to the calendar you wish to use in WordPress, and going to Calendar settings.
3. To retrieve your Google Calendar ID, scroll down to the section titled Calendar Address and look to the right. You should see the words Calendar ID followed by a colon. The address after the colon is the calendar ID.
4. Copy the calendar ID, return to WordPress, and paste the ID in the text box next to Google Calendar ID. Finally, scroll down to the bottom of the page past the social media options to find the save button.

[/column-group
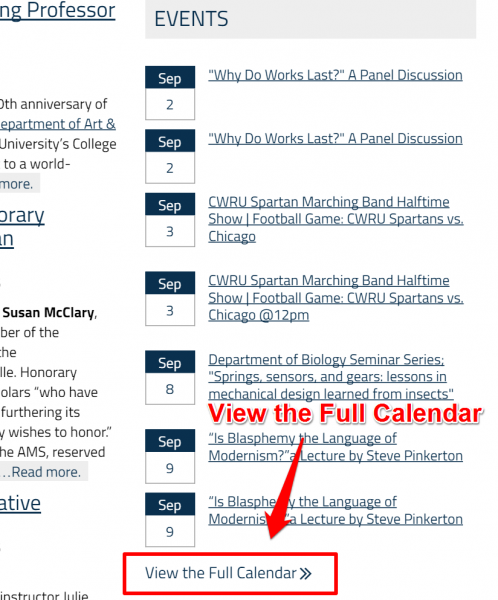
5. Once you have entered your Google Calendar ID in the options page, you will have the option to use a Google Calendars widget which will display a certain number of events in a list on the right side of the homepage. The widget will look similar to this if it is activated:

6. To add the widget, you must first navigate to the Widgets page which is found under Appearance in the sidebar.

7. On the left side of the Widgets page, there is a list of all the available widgets. To add the Google Calendar widget to the sidebar, click-and-drag CAS Events Widget over to the Homepage sidebar and drop it.
8. To rename the widget, click the down arrow on the right of the widget’s box and change the text in the textbox below.
If the widget does not appear, please contact Sarah Bailey at scb89@case.edu

9. The default number of events that are displayed is 7, however, this number can be changed in the Site Options page. Immediately below the Google Calendar ID, there is an option labeled Number of Events to Show. Change the number to the amount of events you want shown in the widget.
Remember to the save the options after you are done editing them.

10. At the bottom of the calendar widget, there is an option to view the entire calendar on a different page.However, this page will not exist unless it is manually created.

11. Go to add Add New under the Pages section in the sidebar.
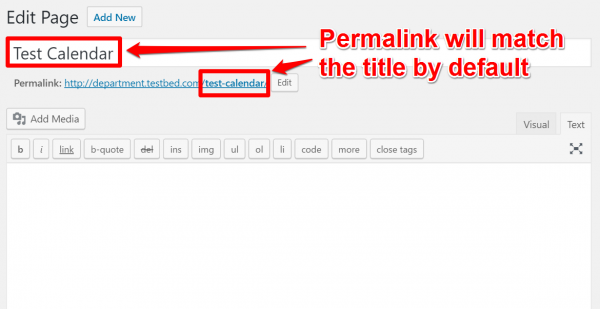
2. You can name the page whatever you want, but the permalink must be …/calendar/. If you name the page Calendar, then the permalink will be correct by default, but if you named it something else the permalink must be edited.

12. To edit the permalink, click the Edit button to the left of the permalink and change the text to calendar. Click Ok and save the page to commit your change.

10. At the bottom of the calendar widget, there is an option to view the entire calendar on a different page.However, this page will not exist unless it is manually created.

11. Go to add Add New under the Pages section in the sidebar.
2. You can name the page whatever you want, but the permalink must be …/calendar/. If you name the page Calendar, then the permalink will be correct by default, but if you named it something else the permalink must be edited.

12. To edit the permalink, click the Edit button to the left of the permalink and change the text to calendar. Click Ok and save the page to commit your change.


